
How to Fix a Leaky Faucet
Learn how to fix a leaky faucet by shutting off water, identifying faucet type, replacing washers, cartridges, O-rings, or seats, avoiding mistakes, and troubleshooting.
Quick Answer
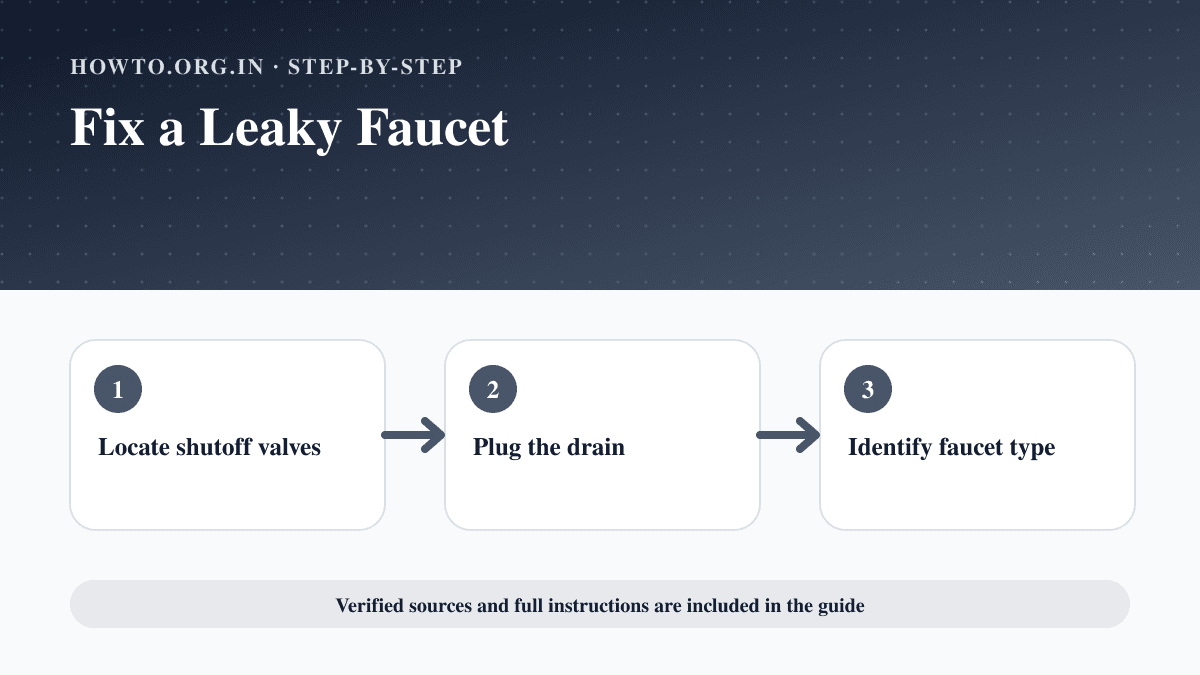
To fix a leaky faucet, turn off the water supply, plug the drain, identify the faucet type, remove the handle, inspect the cartridge, washer, O-ring, or valve seat, replace worn parts with matching pieces, reassemble, then turn water on slowly and test for leaks.
Tools and Parts
- Adjustable wrench
- Screwdrivers
- Allen key set
- Replacement cartridge, washer, or O-rings
- Plumber grease
- Towel
- Bucket
- Phone photo of parts
Safety Precautions
- Shut off water before disassembly.
- Cover the drain so small parts do not fall in.
- Do not force stuck parts because fixtures can crack.
- Call a plumber if shutoff valves leak, pipes are corroded, or the leak is inside the wall.
Step-by-Step Instructions
- Step 1
Locate shutoff valves
Turn off hot and cold water under the sink, then open the faucet to release pressure.
- Step 2
Plug the drain
Use a stopper or towel to keep screws and small parts from falling in.
- Step 3
Identify faucet type
Common types include cartridge, compression, ball, and ceramic disc faucets.
- Step 4
Remove handle carefully
Take photos as you remove caps, screws, handles, and retaining clips.
- Step 5
Inspect worn parts
Look for damaged washers, cartridges, O-rings, seals, or valve seats.
- Step 6
Match replacements
Bring old parts or model information to the store to get the correct replacement.
- Step 7
Reassemble and test
Put parts back in order, turn water on slowly, and check for leaks.
Practical Example
Example: A bathroom faucet drips from the spout. You shut off water, remove the handle, replace a worn cartridge with the matching model, and test both hot and cold sides.
Common Mistakes
- Forgetting to shut off water
- Dropping screws into drain
- Buying the wrong cartridge
- Overtightening fittings
- Mixing hot and cold parts
- Ignoring leaking shutoff valves
Troubleshooting
The faucet still drips
Check whether the correct part was replaced and inspect the valve seat or second handle.
Handle leaks after repair
Check O-rings, packing nut, or cartridge alignment.
Water will not shut off
Stop and call a plumber if the shutoff valve fails.
Part is stuck
Use the correct puller or professional help rather than forcing it.
When to Get Help
- Shutoff valves do not work.
- Pipes or fixture parts are corroded.
- Leak is inside a wall or cabinet.
- You cannot identify the part.
- Repair attempts worsen the leak.
Helpful Internal Links
FAQs
What causes a faucet to drip?
Worn washers, cartridges, O-rings, seals, or valve seats are common causes.
Can I fix a leaky faucet myself?
Many simple leaks are DIY-friendly if shutoff valves work and parts are accessible.
How do I know what cartridge to buy?
Use the faucet brand/model or bring the old cartridge to match it.
Why does the faucet leak from the handle?
Handle leaks often involve O-rings, packing, or cartridge seals.
Related Guides
How to Replace Faucet Cartridge
Learn how to replace a faucet cartridge by shutting off water, removing the handle, matching the cartridge, reinstalling, testing leaks, and troubleshooting.
How to Unclog a Drain
Learn how to unclog a sink, shower, or tub drain safely with boiling water caution, plunger, drain snake, baking soda method, mistakes, and FAQs.
How to Fix a Running Toilet
Learn how to fix a running toilet by checking the flapper, chain, water level, float, refill tube, fill valve, mistakes, and FAQs.
Help us improve this guide
Tell us about an outdated instruction, unclear step, broken link or safety concern. Do not include passwords, account numbers, medical records or other sensitive information.